Windows WSL2 中安装
- 先安装控制台工具: Windows Terminal
- 安装字体:Nerd Fonts - Iconic font aggregator, glyphs/icons collection, & fonts patcher
- 安装
oh-my-posh: Linux | Oh My Posh - 配置启动脚本,启用
oh-my-posh主题: Themes | Oh My Posh
安装控制台工具
微软商店中搜索 terminal 然后安装即可
安装字体
下载字体
打开 Nerd Fonts - Iconic font aggregator, glyphs/icons collection, & fonts patcher ,然后下载任意一款喜欢的字体
安装字体
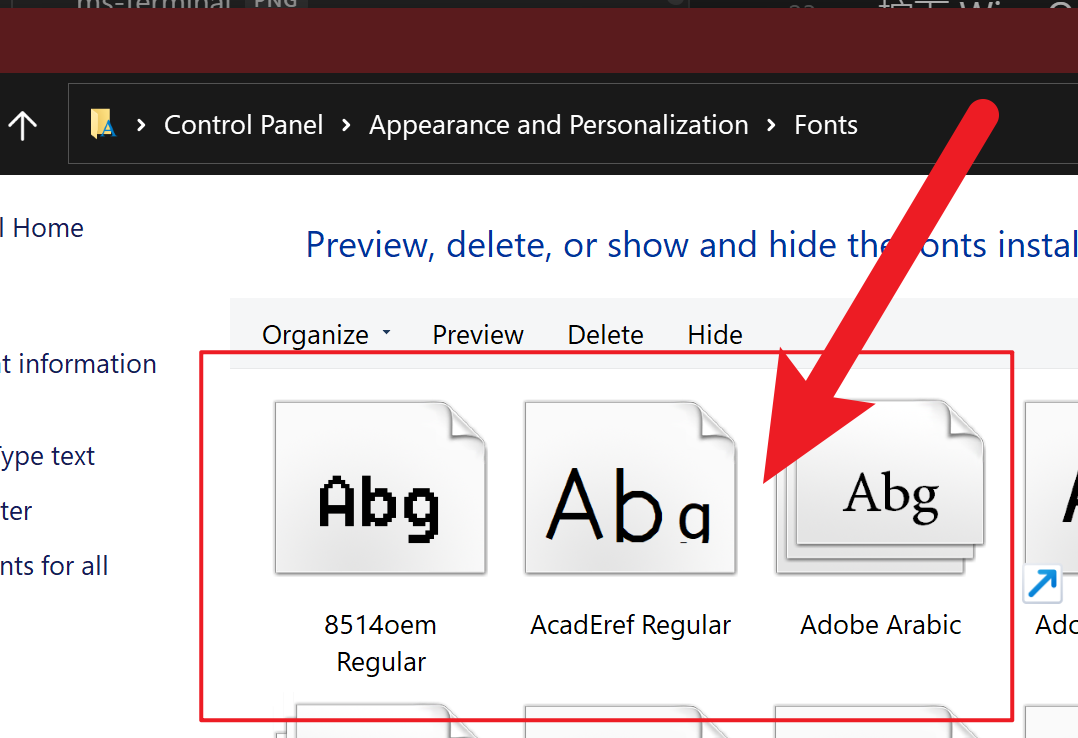
- 按下 Win+Q 搜索 字体,或者直接打开控制面板,然后打开字体页面
- 把下载解压后的字体拖进去
- 在terminal设置中,选择 Ubuntu 或者默认的shell界面配置,选择显示配置,然后选中字体,在字体中选择刚刚安装的字体即可。
安装 oh-my-posh
参考 Oh My Posh
执行以下命令进行安装
curl -s https://ohmyposh.dev/install.sh | bash -s或者如果有 brew 也可以用如下命令
brew install jandedobbeleer/oh-my-posh/oh-my-posh使用主题
- 下载主题
以下命令将把 *.omp.json 主题文件下载到 ~/.poshthemes/ 中
git clone https://github.com/JanDeDobbeleer/oh-my-posh.git /tmp/oh-my-posh
mkdir -p ~/.poshthemes/
cp -f /tmp/oh-my-posh/themes/*.json ~/.poshthemes/- 使用主题
官方有主题预览,看到喜欢的主题把名字复制下来, 在刚下载的文件夹
~/.poshthemes/中找相同名字的即可
假设想使用 ~/.poshthemes/my.omp.json 主题, 则执行以下命令
eval "$(oh-my-posh --init --shell bash --config ~/.poshthemes/my.omp.json)" - 自动启用主题
编辑 shell 启动脚本
vi ~/.bashrc在脚本后面加一行后保存即可:
eval "$(oh-my-posh --init --shell bash --config ~/.poshthemes/my.omp.json)" Windows PowerShell 中安装
- 安装
oh-my-poshPowerShell.exe版本: Releases · JanDeDobbeleer/oh-my-posh - 配置
PowerShell环境变量,启用主题
安装 .exe 版本
在 Releases · JanDeDobbeleer/oh-my-posh 中选择最新版,下载后安装,一切保持默认即可
然后打开 PowerShell ,输入 oh-my-posh 查看帮助信息,确保程序成功安装,如果没有出现说明文字,则可能需要配置下 环境变量
启用主题
临时启用主题
假设主题下载到了 C:\Users\myname\Downloads\my.omp.json , 执行以下命令启用主题:
oh-my-posh --init --shell pwsh --config C:\Users\myname\Downloads\my.omp.json | Invoke-Expression 自动启用主题
按照目录创建文件夹 C:\Users\{你的用户名}\Documents\WindowsPowerShell ,其中 {你的用户名} 对应的是自己计算机登录的时候配置的用户名。
然后新建文件 Microsoft.PowerShell_profile.ps1 , 如果文件已存在就打开文件。
往文件中写入以下内容然后保存,其中 C:\Users\myname\Downloads\my.omp.json 是要应用的 oh-my-posh 主题文件。
oh-my-posh --init --shell pwsh --config C:\Users\myname\Downloads\my.omp.json | Invoke-Expression 新开PowerShell 终端即可看到自动启用主题
Termux 中安装
- 安装
oh-my-poshlinux版本: Releases · JanDeDobbeleer/oh-my-posh - 配置
Termux环境变量, 启用主题
安装Termux版本的程序
在这里找到自己系统的版本:Releases · JanDeDobbeleer/oh-my-posh
比如我设备是 aarch64 则对应选择 android arm64 版本的 oh-my-posh 进行安装
安装下载工具
pkg install wget下载对应版本,比如我这里随便选择了一个适合自己系统的版本,或者你也可以自己编译一个。
cd /data/data/com.termux/files/usr/bin
wget https://github.com/JanDeDobbeleer/oh-my-posh/releases/download/v19.18.1/posh-android-arm -O oh-my-posh
chmod +x oh-my-posh
❗❓ 如果你想自己编译…
下载项目
mkdir -p ~/tmp
rm -rf ~/tmp/oh-my-posh
cd ~/tmp
git clone https://github.com/JanDeDobbeleer/oh-my-posh.git oh-my-posh
安装依赖
pkg install golang编译 oh-my-posh , 如果需要编译特定版本, 需要先切换到对应版本的分支
cd ~/tmp/oh-my-posh
go mod init example.com/m
cd ~/tmp/oh-my-posh/src
go build -o /data/data/com.termux/files/usr/bin/oh-my-posh
查看编译是否成功
oh-my-posh下载主题
从 oh-my-posh/themes at main · JanDeDobbeleer/oh-my-posh · GitHub 下载主题, 主题预览参考这里: 启用主题
mkdir -p ~/tmp/
cd ~/tmp/
git clone git@github.com:JanDeDobbeleer/oh-my-posh.git oh-my-posh
mkdir -p ~/.poshthemes/
cp -f ~/tmp/oh-my-posh/themes/*.json ~/.poshthemes/
安装字体
- 下载 Termux:Styling 后安装
- 进入
Termux长按终端空白处,点击More...-Style-CHOOSE FONT选择一个字体
启用主题
临时启用
将 ~/.poshthemes/my.omp.json 换成想用的主题,参考这里看主题预览: 使用主题
eval "$(oh-my-posh --init --shell bash --config ~/.poshthemes/my.omp.json)" 自动启用
同样将 以下命令放入 ~/.bashrc 即可(没有就创建一个文件写入), 其中 ~/.poshthemes/my.omp.json 为要应用的主题。
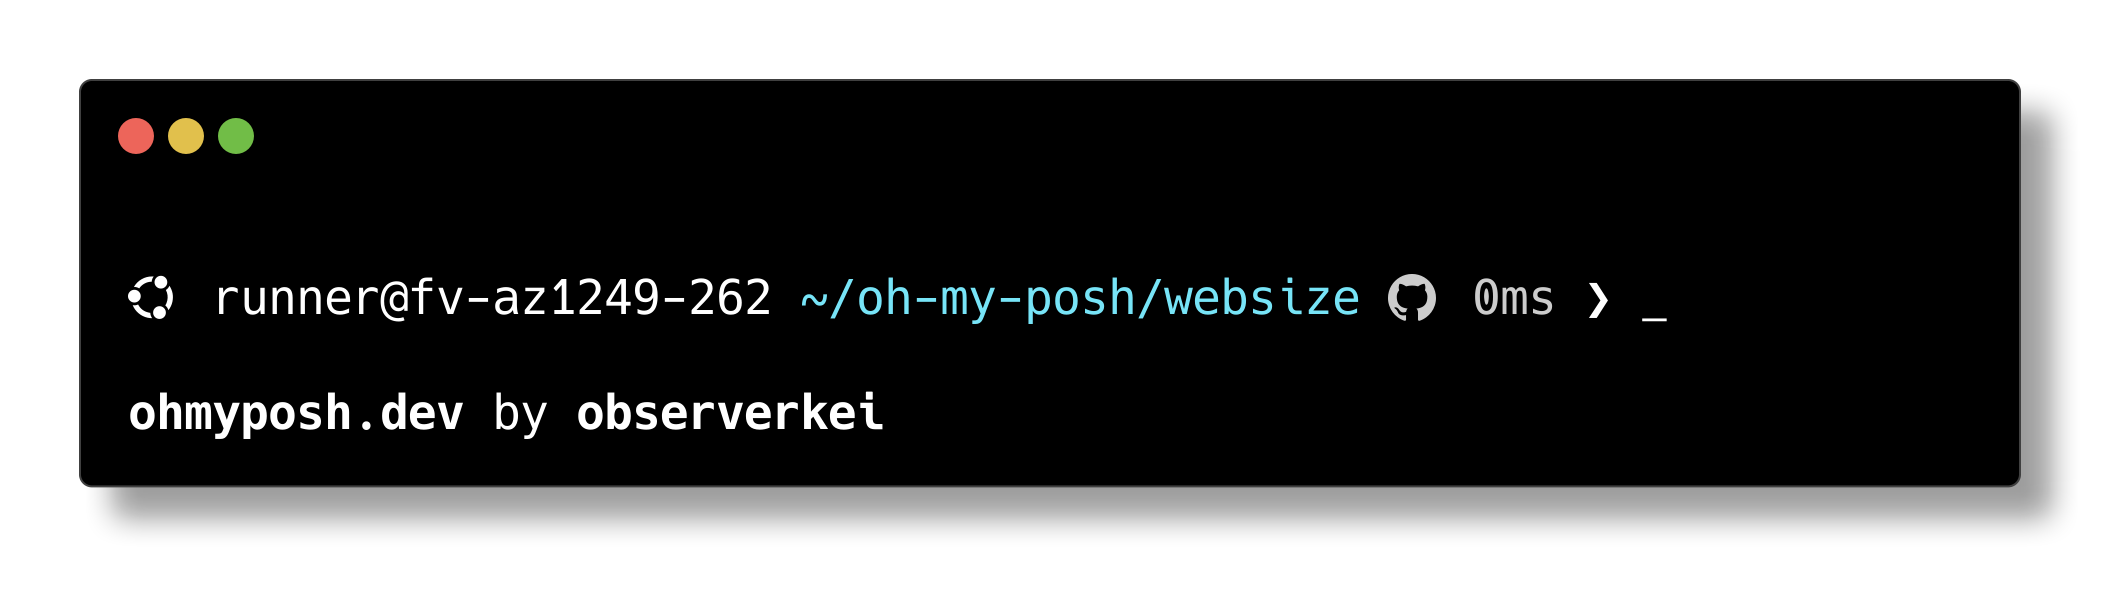
eval "$(oh-my-posh --init --shell bash --config ~/.poshthemes/my.omp.json)" 分享一个自用 coral_lean 主题
预览
将内容保存到
coral_lean.omp.json文件 , 然后启用即可
如果是Termux使用觉得太长,可以删除type:os/root/session三项
{
  "$schema": "https://raw.githubusercontent.com/JanDeDobbeleer/oh-my-posh/main/themes/schema.json",
  "blocks": [
    {
      "alignment": "left",
      "segments": [
        {
          "foreground": "#ffffff",
          "style": "powerline",
          "template": "{{.Icon}} ",
          "type": "os"
        },
        {
          "foreground": "#CECE04",
          "style": "plain",
          "template": " \uf0e7 ",
          "type": "root"
        },
        {
          "foreground": "#FFFFFF",
          "style": "plain",
          "template": "{{ .UserName }}@{{ .HostName }} ",
          "type": "session"
        },
        {
          "foreground": "#77E4F7",
          "properties": {
            "style": "full"
          },
          "style": "plain",
          "template": "{{ .Path }} ",
          "type": "path"
        },
        {
          "foreground": "#cccccc",
          "style": "plain",
          "properties": {
            "fetch_upstream_icon": true
          },
          "template": "{{ .UpstreamIcon }}",
          "type": "git"
        },
        {
          "foreground": "#100e23",
          "style": "plain",
          "template": " \ue235 {{ if .Error }}{{ .Error }}{{ else }}{{ if .Venv }}{{ .Venv }} {{ end }}{{ .Full }}{{ end }} ",
          "type": "python"
        },
        {
          "foreground": "#FF3B16",
          "style": "plain",
          "template": "{{ reason .Code }} ",
          "type": "status"
        },
        {
          "foreground": "#cccccc",
          "properties": {
            "style": "austin",
            "threshold": 1
          },
          "invert_powerline": true,
          "style": "powerline",
          "template": "{{ .FormattedMs }} ",
          "type": "executiontime"
        },
        {
          "foreground": "#ffffff",
          "style": "plain",
          "template": "<#FFFFFF>\u276f</> ",
          "type": "text"
        }
      ],
      "type": "prompt"
    }
  ],
  "version": 2
}